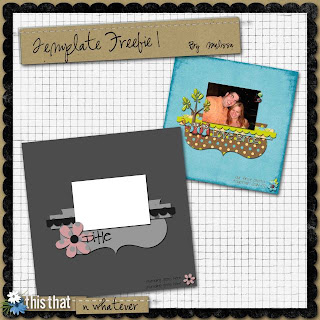
Now due to some confusion and some of our digi gals being unsure as to what a template is, I decided to write a tutorial. I hope this will be helpful to anyone who has not used a template before :)
A template is the digital equivalent of a 'sketch' BUT...it is even easier to use!
After downloading and unzipping you need to open the 'layers' file in your program. This will be the .psd or .tiff file. I will be using Melissa's template for my examples.
There are 3 components of a template - the paper/photo layers, the element layers and the text layers.
Drag in a paper from a digital kit and in the layers palette, you need to move it to directly above the layer of the template you want to use.
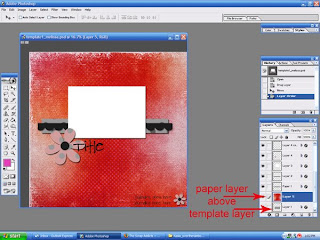
Now hit CTRL-G. This will clip the paper to the template layer so that it is the same size and shape.
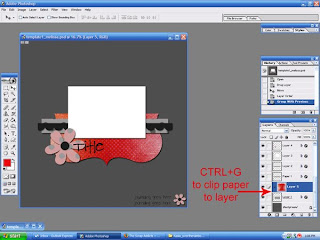 If you like, you can move, resize, rotate the paper to get the best part showing.
Repeat this for every paper layer and the photo/s layers.
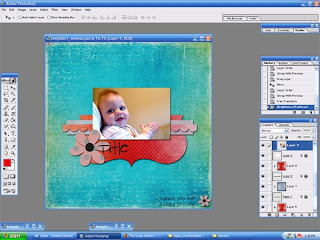 Okay...elements.
The elements can be used as above if you like what Melissa has made, but they are intended to suggest where you might like to put your own elements. So drag in what you like, put it in the spot and then delete or 'turn off' the corresponding template layer.
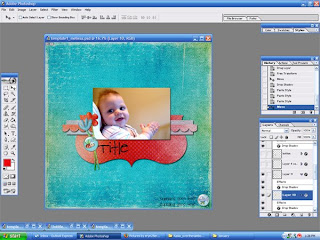 Now the text. Click on the text layer, click on the text and delete Melissas. Write in your own words. You may have to change the font if the one used is not on your computer. You can also change the colours, size, and move it on the page if you like.
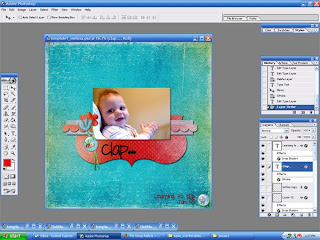
When you are done...save as a layered file (psd, tiff), then flatten to save as a jpeg.
Feel free to change or add to the template to make it your own. A template is designed to make your scrapping easier, but not to control it!
Also....if you would like to add styles such as drop shadows or bevels, you can add them to the template layer, or you can merge the clipped layers first. To merge the clipped layers, click the top one and then go to LAYERS>MERGE DOWN. This will merge them to create one normal layer that can be manipulated as normal. Have fun scrapping! :D




No comments:
Post a Comment